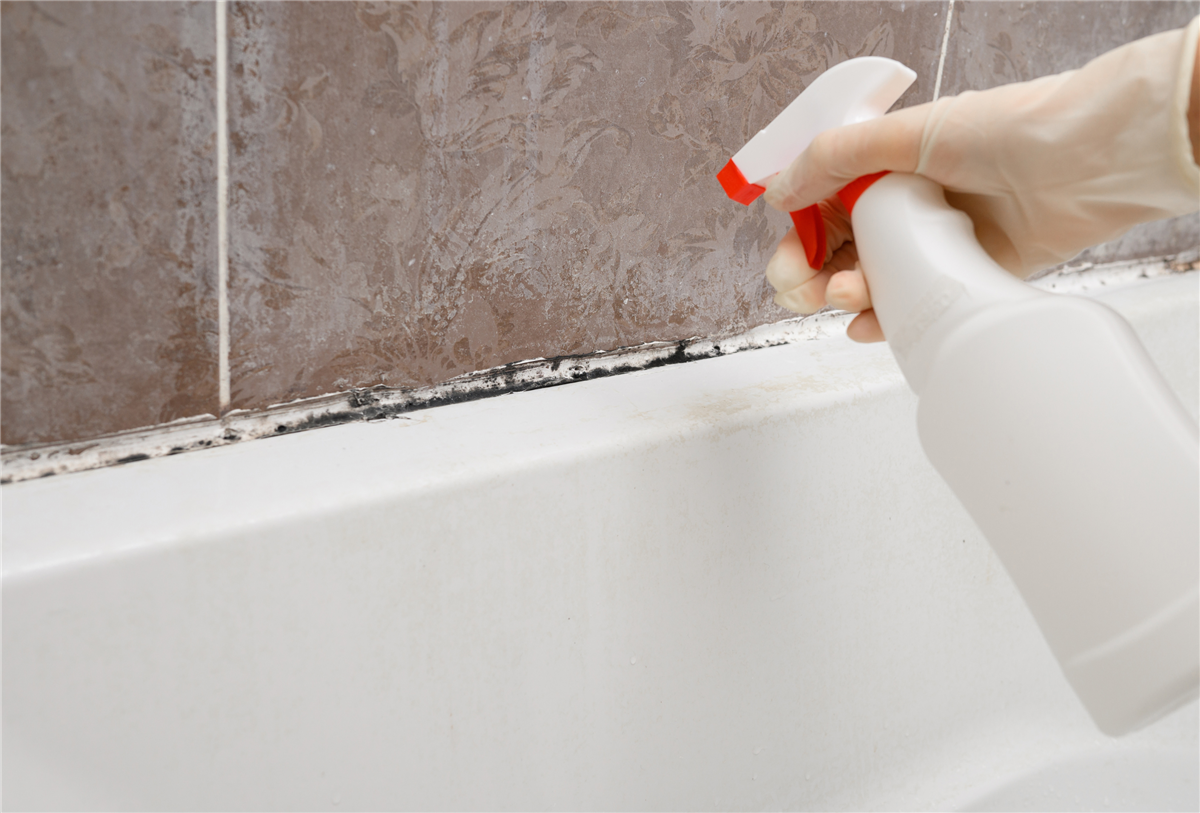
You've scrubbed it, sprayed it, and recaulked it. Yet within a few weeks, the mold returns—in the grout lines, in the corners, and on the caulk bead around the tub.
This is one of the most common frustrations homeowners bring to us. The solution is almost never a better cleaning product, but rather a better understanding of why mold keeps returning—and how to address it permanently.
Here's what the science says, along with eight practical tips that actually work.
First, Let's Look at Why Mold Grows in Your Bathroom
Mold needs exactly three things to survive: moisture, a food source, and time. Your bathroom provides all three in abundance — every single day.
According to Verified Remediation's 2026 Mold Prevention Guide (reviewed by Drew Fuller, Principal at Restoration 365, an IICRC Certified Firm):
"Mold is not a cleaning problem. It's a moisture problem. Every mold situation starts the same way: water gets somewhere it shouldn't, and stays there too long."
The critical window for mold growth occurs within 24 to 48 hours of sustained moisture exposure. That's how quickly a shower that doesn't dry properly becomes a mold problem.
And here's the part most homeowners don't know: grout is porous. Every tile grout line in your shower is a microscopic network of channels that absorbs moisture, traps soap residue and dead skin cells (mold's food source), and holds both in a warm, dark environment behind your walls. No amount of surface cleaning reaches what's already growing inside it.
Here Are 8 Quick Tips That Actually Prevent Bathroom Mold
1. Run Your Exhaust Fan the Right Way
Most homeowners turn off the exhaust fan immediately after showering, but steam continues to evaporate long after the water stops. To prevent moisture from coating room surfaces, run your fan during the shower and for 30 minutes afterward.
One important check: ensure your exhaust fan vents directly to the outside of your home, not into the attic. According to Verified Remediation, venting into the attic is a surprisingly common builder shortcut—this just moves the mold problem elsewhere rather than solving it.
(Source: Verified Remediation, 2026 Mold Prevention Guide — EPA-cited methodology)
2. Buy a $15 Digital Hygrometer
Measuring indoor humidity in real time is one of the most cost-effective ways to prevent mold. Place one in the bathroom and check it regularly to keep humidity in the target range of 30–50%. Here's what the numbers mean:
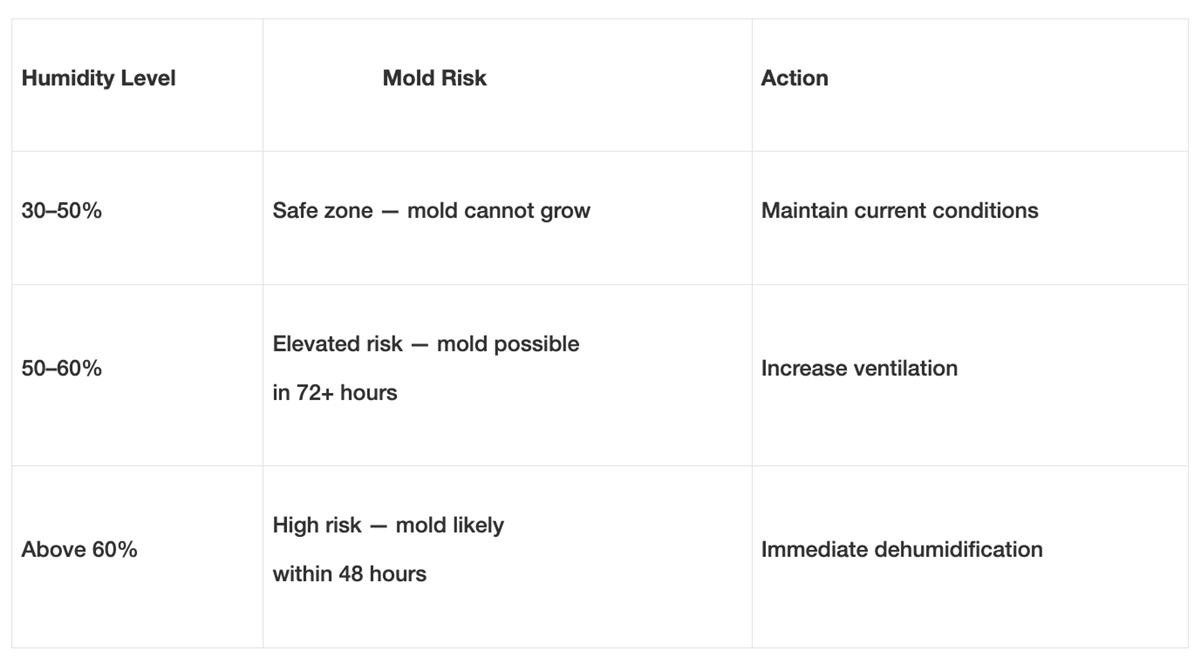
Prevention is significantly cheaper than remediation. Investing in a $15 hygrometer and a $200 dehumidifier can help avoid mold remediation costs that often reach $5,000 or more.
(Source: Verified Remediation, 2026 Mold Prevention Guide)
3. Squeegee After Every Shower
Wiping down shower walls with a squeegee after each use reduces surface moisture by up to 75%, according to Verified Remediation. This reduction directly extends the time before mold can establish itself, allowing proper ventilation to finish the job. It takes just 30 seconds, costs nothing, and is one of the most effective habits you can adopt.
Also, remember to leave the shower curtain or door fully open after use to allow air to circulate across all surfaces.
4. Inspect and Replace Caulk Regularly
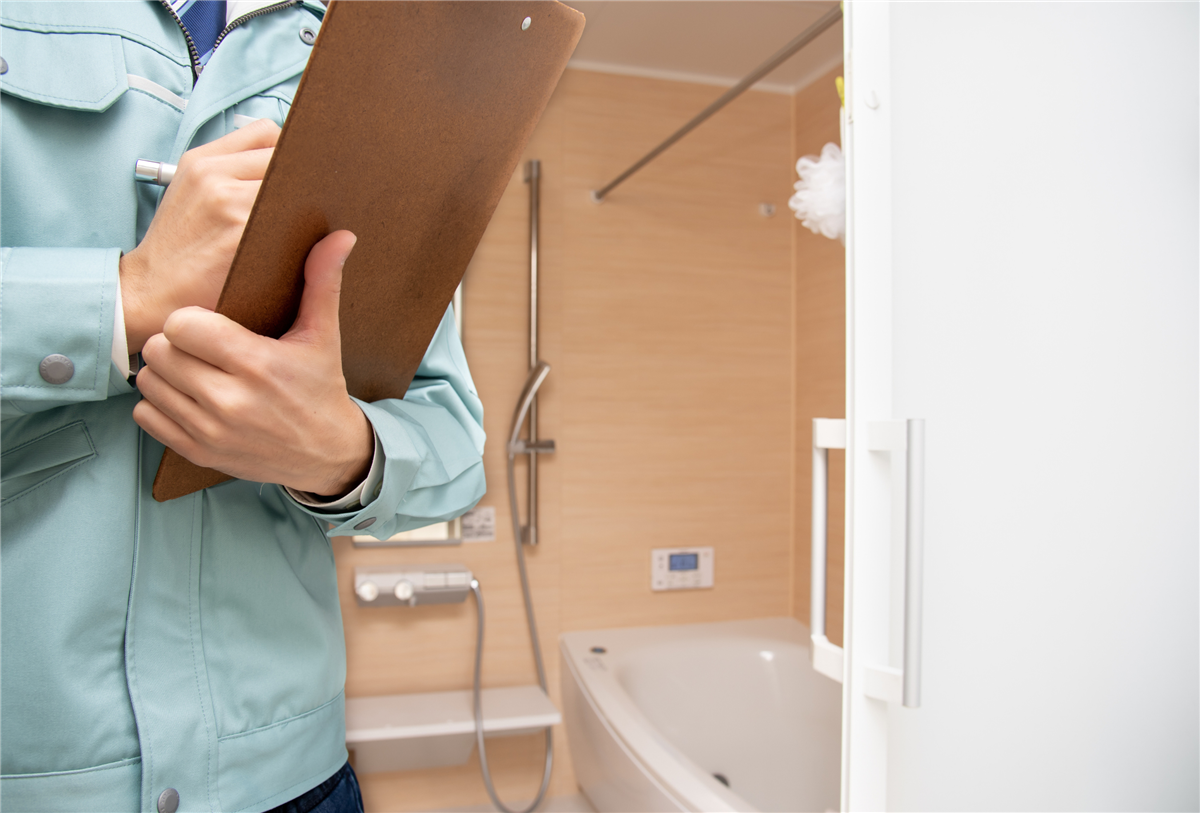
Bathroom caulk is one of the most commonly overlooked mold entry points. As it ages, hairline cracks can develop that allow moisture to penetrate behind tiles and into walls, reaching areas that surface cleaning cannot fix.
What should you do? Inspect your caulk bead monthly and check for discoloration, cracking, or separation from the wall. If damaged, replace it using mold-resistant silicone caulk not standard acrylic as silicone contains a biocide that actively resists mold growth.
(Source: Lowe's — "How to Prevent Mold in Bathroom")
5. Fix Leaks Within 24 Hours
The 24- to 48-hour window is critical for mold prevention. Once moisture sits undisturbed for 48 hours, mold has already begun to establish.
Adopt a monthly inspection habit. Check under your sinks, around toilet bases, and near any visible supply lines. Without regular check-ups, a slow drip under a sink can go unnoticed and sustain hidden mold growth for months.
(Source: Verified Remediation, 2026 Mold Prevention Guide)
6. Wash Bath Mats Weekly
Bath mats are one of the most overlooked mold sources in the bathroom. They sit on the floor after showers and trap moisture against the tile, creatimg the warm, damp environment mold needs to grow.
Make it a habit to wash bath mats weekly and allow them to dry completely between uses. Never leave a damp bath mat folded or propped against the wall.
7. Use Mold-Resistant Materials When Remodeling
If you're planning any bathroom work —such as a new shower surround, tile replacement, or a full remodel— the materials you choose can determine your long-term mold vulnerability.
Standard tile grout is porous, absorbs moisture and degrades over time regardless of sealing. Once moisture is inside the grout, no surface cleaning product can remove it.
Key mold-resistant materials worth considering for your project:
- Mold-Resistant Drywall: Fiberglass-faced options remove the cellulose food source mold needs. While it costs approximately 50% more than standard drywall, it offers significantly better protection.
- Mold-Resistant Paint: Contains antimicrobial additives to prevent surface mold in high-moisture rooms.
- Mold-Resistant Silicone Caulk: Formulated with biocides to prevent mold growth along caulk lines, unlike standard acrylic caulk.
- Non-Porous Wall Systems: Eliminate grout entirely, removing the primary mold entry point in most bathrooms.
Not sure which bathroom remodeling material is right for your home? We compared every major option—acrylic, tile, PVC, fiberglass, and more—in our complete guide: Bathroom Remodel Materials Compared: Which Option Is Actually Worth Your Money?
(Source: Verified Remediation, 2026 Mold Prevention Guide — mold-resistant materials table)
8. Know When Cleaning Is No Longer the Answer
Surface cleaning removes visible mold but doesn't address mold that has penetrated grout, grown behind tile, or established itself inside wall cavities.
According to the EPA, professional remediation is required when visible mold exceeds 10 square feet (roughly a 3x3 foot area). Below that threshold, careful cleaning with appropriate products--such as hydrogen peroxide or white vinegar rather than bleach on porous surfaces--can be effective.
But if mold returns to the same surface within a few weeks of cleaning, the source is not on the surface. It's in the material — and the material needs to be replaced, not re-cleaned.
(Source: Verified Remediation, 2026 Mold Prevention Guide — EPA threshold cited)
The Permanent Solution Most Homeowners Don't Know About
These standard maintenance tips help manage mold risk but they all share the same limitation: they manage a problem created by porous grout and aging tile, which naturally absorb moisture.The only permanent solution is eliminating grout entirely.
ProEdge Remodeling installs two industry-leading grout-free wall systems designed with non-porous surfaces that give mold nowhere to grow:
- ProEdge Bath Systems: Featuring composite PVC wall surrounds feature no grout lines, a NanoProtect sealant, and 800-megapixel natural stone imagery that replicates the look of real stone at a fraction of the maintenance. These surfaces wipe clean in under a minute, resist soap residue, and utilize a four-layer waterproof system to keep moisture out of your walls.
- The Reveal by KOHLER LuxStone Walls: Engineered from non-porous, stain-resistant crushed stone with a modern matte finish and curated designer patterns. These grout-free walls reduce space for mold and mildew, are backed by a KOHLER Lifetime Limited Warranty, and can typically be installed in just a single day.
The Bottom Line on Mold Prevention
Four habits prevent 90% of residential bathroom mold problems, according to Verified Remediation's 2026 EPA-based guide:
-Keep humidity below 50% — use a hygrometer and a dehumidifier if needed
-Fix leaks within 24 hours — no drip is too small to ignore
-Run bathroom fans during and 30 minutes after every shower
-Inspect monthly — check under sinks, around toilets, and along grout and caulk lines
If you're ready to stop managing the problem and solve mold issues permanently, ProEdge Remodeling can help.
Schedule a Free In-Home Consultation
ProEdge Remodeling has served homeowners across the eastern U.S. with their home remodeling projects since 1961. Schedule your free design consultation with one of our bath remodeling experts and get your complimentary estimate.
Schedule a Free In-Home Consultation
ProEdge Remodeling has served homeowners across the eastern U.S. with their home remodeling projects since 1961. Schedule your free design consultation with one of our bath remodeling experts and get your complimentary estimate.
Sources:
- Verified Remediation — "Mold Prevention: 12-Point Checklist for Every Homeowner (2026)" Reviewed by Drew Fuller, Principal, Restoration 365 (IICRC Certified Firm). Published April 5, 2026. Updated June 9, 2026. EPA-cited methodology. verifiedremediation.com/guides/mold-prevention
- USA Showers — "How to Prevent Mold in Your Bathroom: A Complete Guide" usashowers.com/posts/how-to-prevent-mold-in-your-bathroom-a-complete-guide
- U.S. Environmental Protection Agency — Mold and Moisture Guidelines epa.gov/mold
Tags
Subscribe to ProEdge Remodeling's Blog